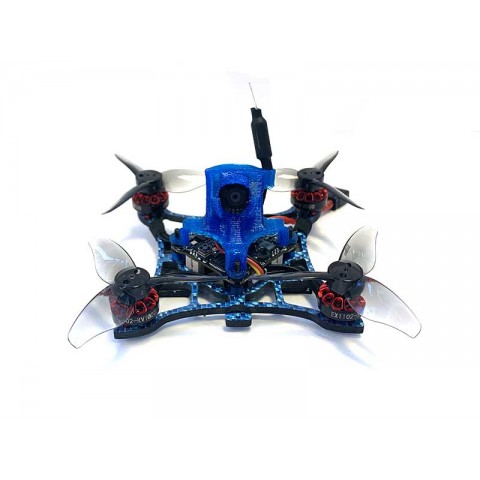
Looking for that first easy build? This super lightweight 2" machine provides outstanding speed and performance without scaring people in the field.
With a 2S 300-660mAh battery you get plenty of flight time and incredible agility. The larger batteries provide longer flight time (5+ minutes).
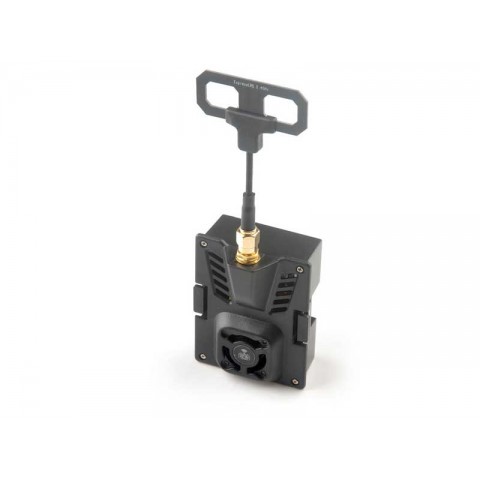
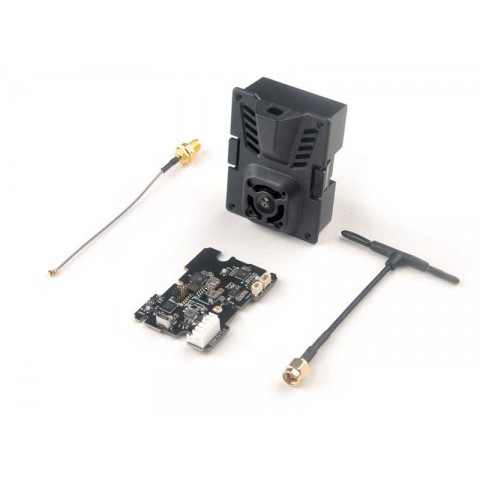
The new X12 AIO flight control board comes with a higher power 400mW video transmitter and sleeved dipole antenna, giving amazing video range to match the onboard ExpressLRS receiver.
The only part that requires soldering is the battery pigtail (which we can do if you don't want that hassle), the rest of the assembly is plug and play!
Notes:
Thanks to Nick Burns and Infinity Loops for reviewing our kit! We have made a few changes based on their feedback:
The antenna holder on the canopy has been revised and will hold the antenna better than the previous version.
Sticky battery pads will now be included (extra here).
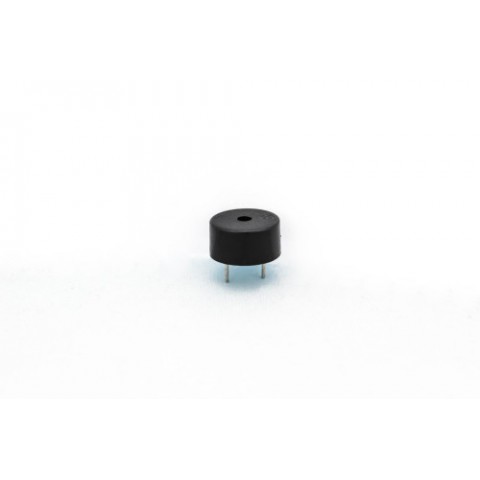
We've added the option to include a buzzer with upgraded canopy. Note that we can presolder the buzzer for you in advance if you want to keep the kit solderless.
Specifications:
Weight: 36g (without batteries) - 38g with buzzer (without batteries)
Solder pigtail onto the flight controller (pre-soldered pigtail available as an option).
Install the motors onto the frame using the M1.4x4mm screws (do not use the screws provided inside the HappyModel box as they're too short).
Insert the M2 screws into the bottom of the frame and add M2x2mm TPU spacers on the top (3x 14mm screws go on the front and side / 1x 12mm goes on the back)
Install the FC using the provided grommets.
Plug the motors into the FC
Install the camera into the canopy.
Plug the camera into the flight controller.
(Optional) Solder buzzer onto the flight controller (note that you'll want to shorten the pins and gently bend them so they doesn't make contact with the AIO board - heat shrink tube provided). Secure the buzzer onto the canopy. Diagram here.
Install the camera mount onto the frame and secure the VTX antenna onto the TPU camera mount
Install the M2 locknuts (the 3 on the canopy are optional). The grommets should just start to compress - don't overtighten.
The build is now complete, you can proceed on setting the FC using Betaflight configurator. Note: The FC comes flashed with 4.3, please use Betaflight Configurator 10.8 or up for configuration.
Binding procedure:
Connect the FC to Betaflight Configurator 10.8 or higher via USB
Go to the receiver tab and click on "Bind receiver" - once in bind mode the red LED should flash rapidly (LED can be found at the bottom side next to the USB and boot button.
Put your radio/ELRS module into bind mode.
If the binding procedure was succesful, the red LED should start flashing slowly.
Tuck the VTX antenna to the holder on the side of the TPU camera mount and put a bit of goop or other adhesive to prevent it from coming out.
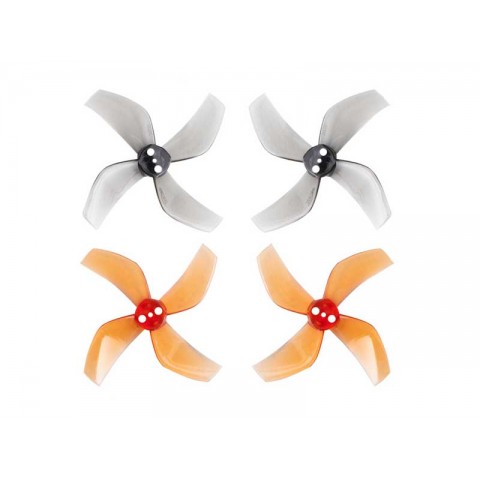
You'll find that 2 motors have a red dot on the connector. Those with the red dots mean they'll spin clockwise and those without dots will spin counter-clockwise.
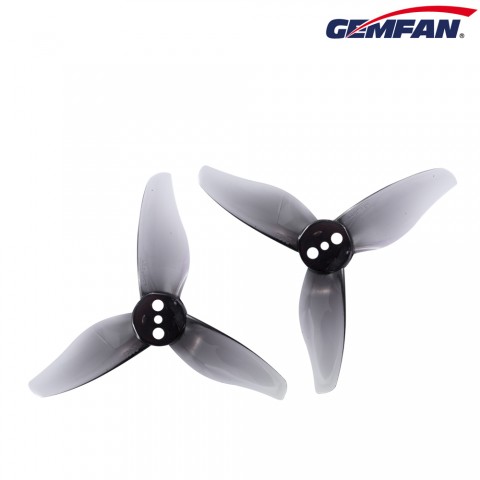
Using M2x7 prop screws to secure props to the motors will add 1.8g but help prevent broken motor shafts from hard impacts
Recommended batteries (not included):
2S 300mAh XT30
2S 450mAh XT30
2S 530/550 XT30
2S 660mAh XT30
Our current PID tune
Betaflight diff dump here
Note that PID profile 1 is best for 2S 450-660mAh batteries and PID profile 2 works well with very light batteries in the 300-380mAh range
Nick Burns PIDs profile + rates here